Creating Accessible Documents for the Web
Why do we need to create accessible documents for the web?
It's the law.
Section 508 of the U.S. Rehabilitation Act sets standards for webpages designed or maintained by federal agencies, state and local governments as well as educational and nonprofit institutions. These are called: Web Content Accessibility Guidelines (WCAG) from the World Wide Web Consortium (W3C).
We are legally required to ensure the content we put on our website meets the WCAG guidelines.
Documents that we host on our website must also meet the same accessibility guidelines as webpages.
It's the right thing to do.
At LCCC, we want to ensure that all our students can access the information they need easily.
Often making documents accessible makes them easier to use for everyone. For example, providing proper color contrast can help anyone reading a screen in bright sunlight.
How do we do that?
Most files for the web begin in Word and end up as a PDF. Ensuring that what we create in Word is accessible will mean that the resulting PDF will be accessible or need only minor edits to be accessible.
- Use Headings: Using proper heading structure helps people understand how the document is organized. Screen reader and Braille users can jump between headings, which makes navigation much more efficient.
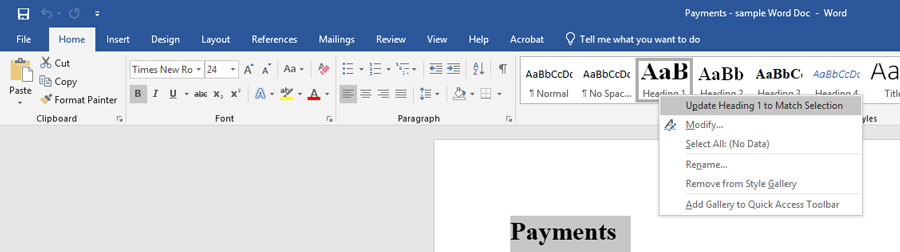
Making text larger and bold does not make it a heading. In order to convert text to a heading in Microsoft Word, you must use the built-in Heading styles like “Heading 1” and “Heading 2”, available under Styles in the Home tab.

Each document should have one and only one Heading 1. Then use the Headings 2, 3, etc. appropriately throughout the document.
Tip: You can make the built-in heading styles match whatever font/size/etc. you prefer. Just highlight the styling you want, go to the Heading icon, right click and select “Update Heading to Match Selection.”
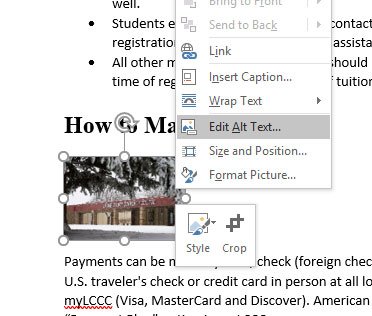
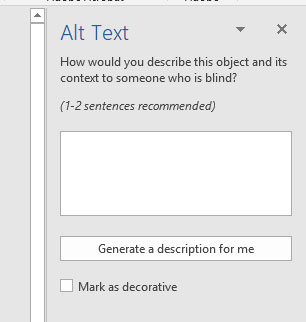
- Add alternative (alt) text/descriptions for all images: Describe what is in an image or its significance to a document. If there is any text in the image, include that text in the alt text. If it is decorative only, there is an option to mark it decorative, and a screen reader will skip it.
In most versions of Word, you can enter alternate text by right clicking an image and selecting edit alt text.
- Use bullets/numbered lists: Screen readers can identify lists and ask users if they would like to read a list, if they are marked correctly. Using the built-in bullets and numbered lists is the best way to ensure lists are properly tagged for screen readers.
- Use descriptive hyperlink text: When including links in your document, use language that conveys relevant information about the destination of the link (tell users where they are going if they click on it).
Screen readers can provide users with a list of links in a document. Being descriptive with link text can help them quickly find what they are looking for.
Avoid vague terms like “click here” or “learn more.” Avoid using the URL as the link.
To set up a hyperlink, highlight that text and right click and select Hyperlink. Include the URL in the Address field and select OK.
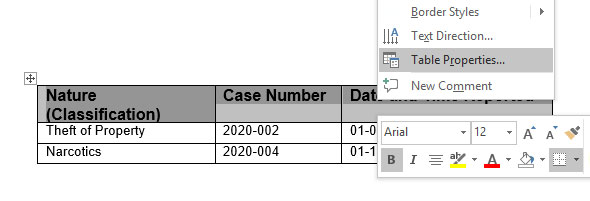
- Use tables only for data: Tables are challenging to make accessible. The main guideline is to use tables only for data and not for layout. Use the built-in columns for layout.
Tables should not have any blank or merged cells. Screen readers read from left to right, top down. Blank cells or merged cells can create confusion about the information being presented.
If a table has blank cells, it may mean an obvious heading has been left out. Merged cells may mean a title needs to be taken out of the table and placed above it. It also may mean that two separate tables are needed. With a little consideration, tables with blank or merged cells can be adjusted to be accessible.
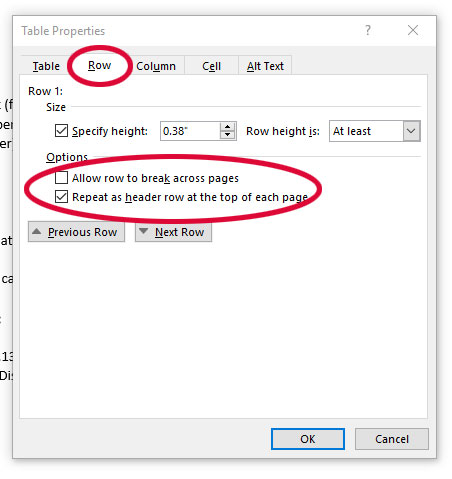
Tables also need a header row defined. To do this in Word, select it, then right-click and select "Table Properties." Select the Row tab, and check "Repeat as header row at the top of each page." Also, be sure "Allow row to break across pages" is unchecked.
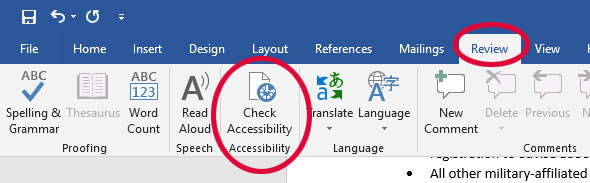
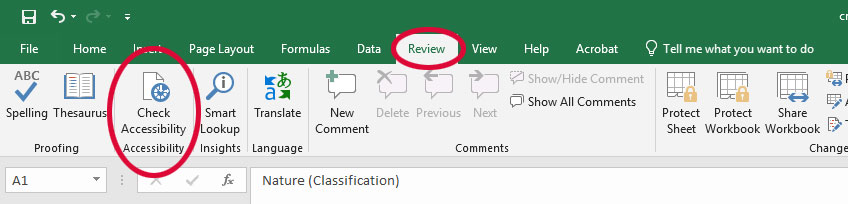
- Use the accessibility checker: The Microsoft Office products have a built-in accessibility checker. It’s under the Review tab and “Check Accessibility.” Do this before you create your final PDF, and fix any errors found.
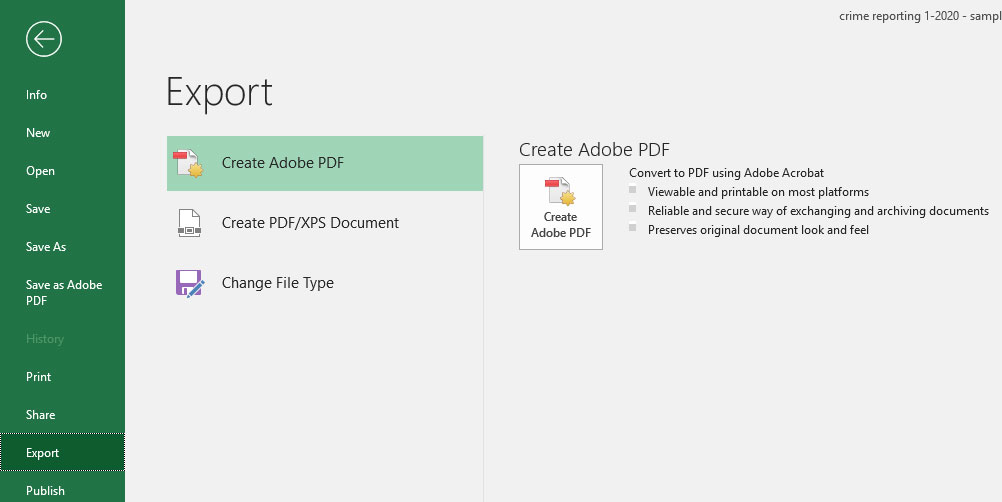
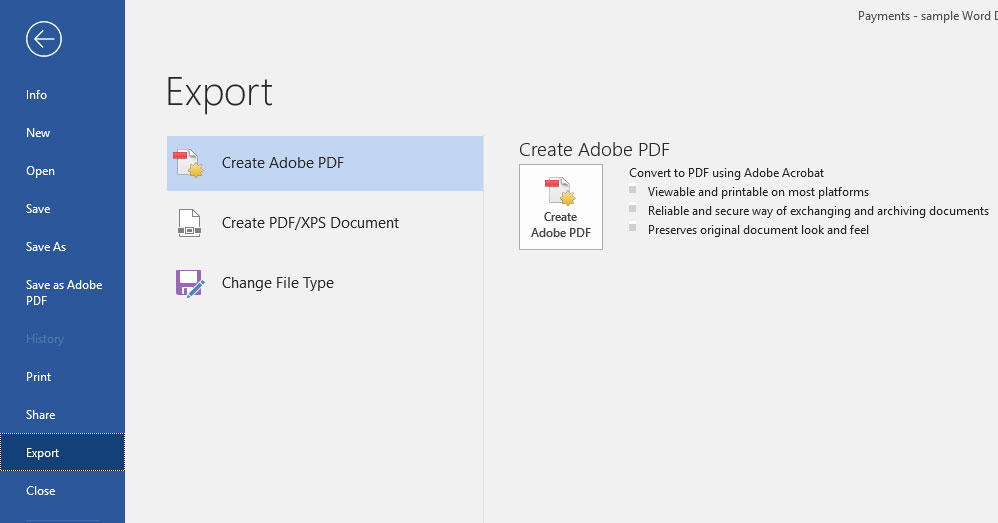
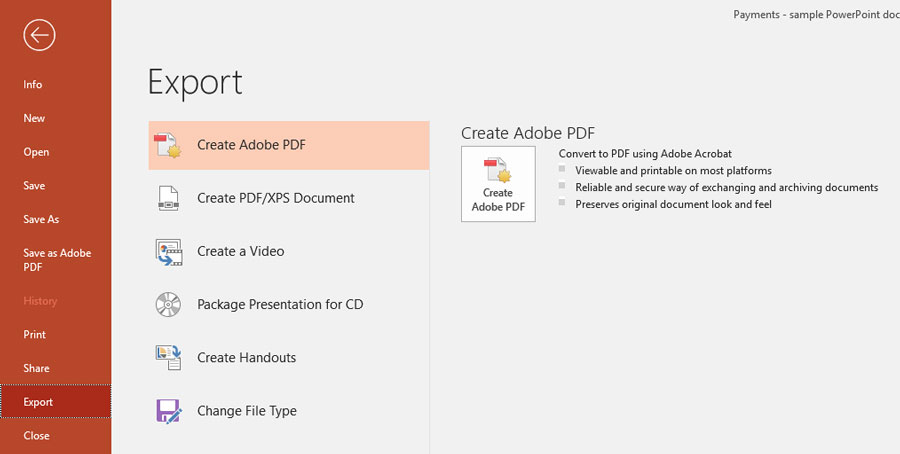
- Export to PDF: Use the “Export to PDF” tool under File in Word to create your accessible PDF. Do not use “print to PDF” as this will not retain that accessible features that you have just added.
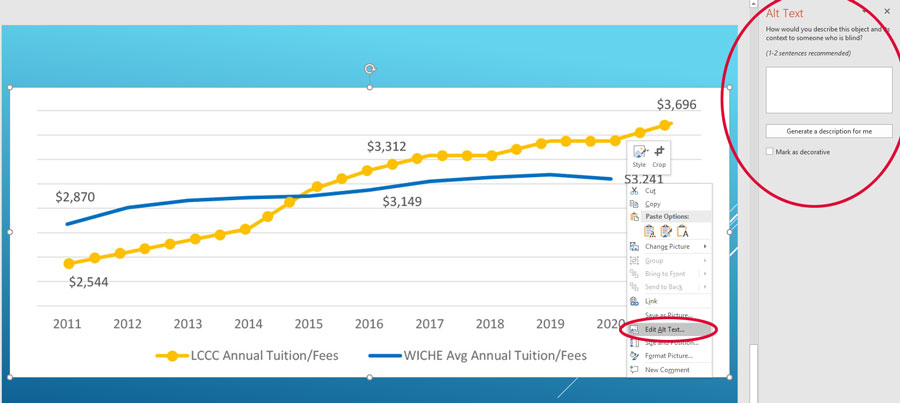
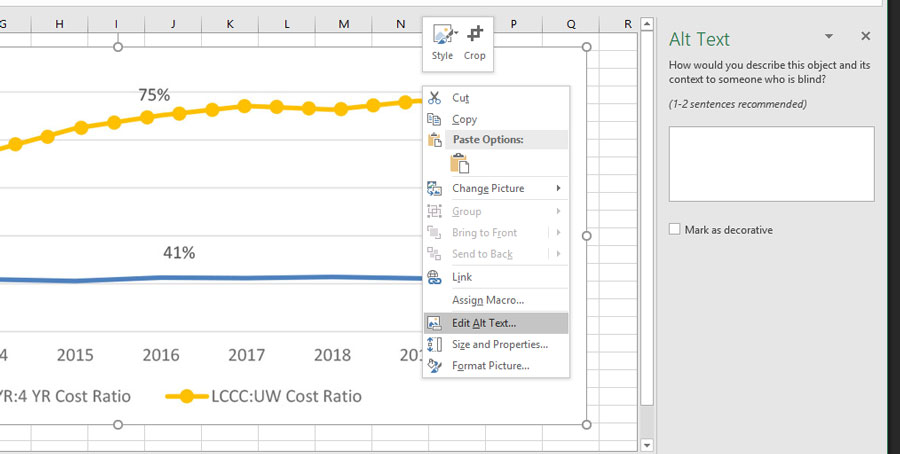
- Add alternative (alt) text/descriptions for all images and charts/graphs: Describe or summarize what is in an image/chart/graph or its significance to a document. If there is any text in the image, include that text in the alt text.
You can enter alternate text by right clicking an image and selecting edit alt text.
- Use bullets/numbered lists: Screen readers can identify lists and ask users if they would like to read a list,
if they are marked correctly. Using the built-in bullets and numbered lists is the
best way to ensure lists are properly tagged for screen readers.
- Use descriptive hyperlink text: When including links in your document, use language that conveys relevant information about the destination of the link (tell users where they are going if they click on it). Screen readers can provide users with a list of links in a document. Being descriptive with link text can help them quickly find what they are looking for.
Avoid vague terms like “click here” or “learn more.” Avoid using the URL as the link.
To set up a hyperlink, highlight that text and right click and select Hyperlink. Include the URL in the Address field and select OK.
- Use tables only for data: Tables are challenging to make accessible. The main guideline is to use tables only for data and not for layout.
Tables should not have any blank or merged cells. Screen readers read from left to right, top down. Blank cells or merged cells can create confusion about the information being presented.
If a table has blank cells, it may mean an obvious heading has been left out. Merged cells may mean a title needs to be taken out of the table and placed above it. It also may mean that two separate tables are needed. With a little consideration, tables with blank or merged cells can be adjusted to be accessible.
- Use templates: Often, by using a prebuilt template, many of the accessibility issues in PowerPoint
are set up correctly. This includes color contrast and reading order.
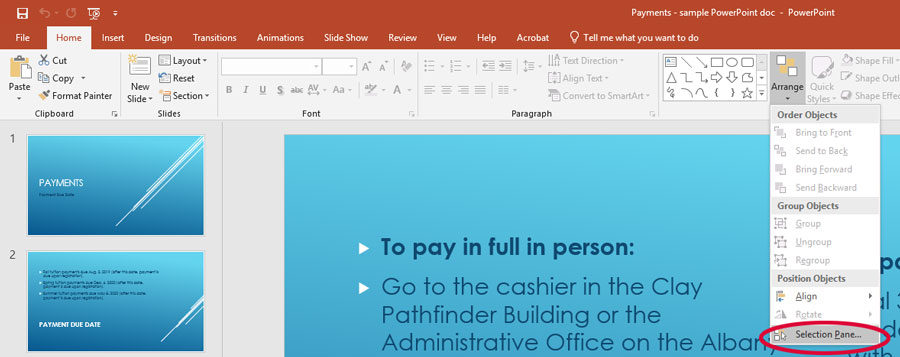
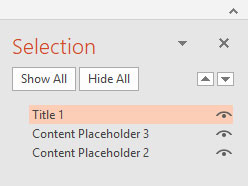
If you choose to create your own slide styling, use a color contrast check like Web Accessibility In Mind Contrast Checker to ensure your text and background meet accessibility guidelines for readability. - Check the reading order: In the selection pane, make sure that the content is listed in the correct order, typically title and then content. This is not necessarily the order of the content on the slide. It can appear in the order it was added. This will ensure screen readers present the information in a logical order.
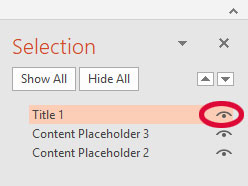
- Use unique slide titles: All slides need to have a title. All slides must have a unique title.
It is possible to add a title to a slide that is hidden from viewers but available to screen readers. In the reading order pane, click the eye icon to make it invisible.
- Use the accessibility checker: The Microsoft Office products have a built-in accessibility checker. It’s under the Review tab and “Check Accessibility.” Do this before you create your final PDF, and fix any errors found.

- Export to PDF: Use the “Export to PDF” tool under File in PowerPoint to create your accessible PDF. Do not use “print to PDF” as this will not retain that accessible features that you have just added.
- Use tables only for data: Tables are challenging to make accessible. The main guideline is to use tables only for data and not for layout.
Tables should not have any blank or merged cells. Screen readers read from left to right, top to bottom. Blank cells or merged cells can create confusion about the information being presented.
If a table has blank cells, it may mean an obvious heading has been left out. Merged cells may mean a title needs to be taken out of the table and placed above it. It also may mean that two separate tables are needed. With a little consideration, tables with blank or merged cells can be adjusted to be accessible.
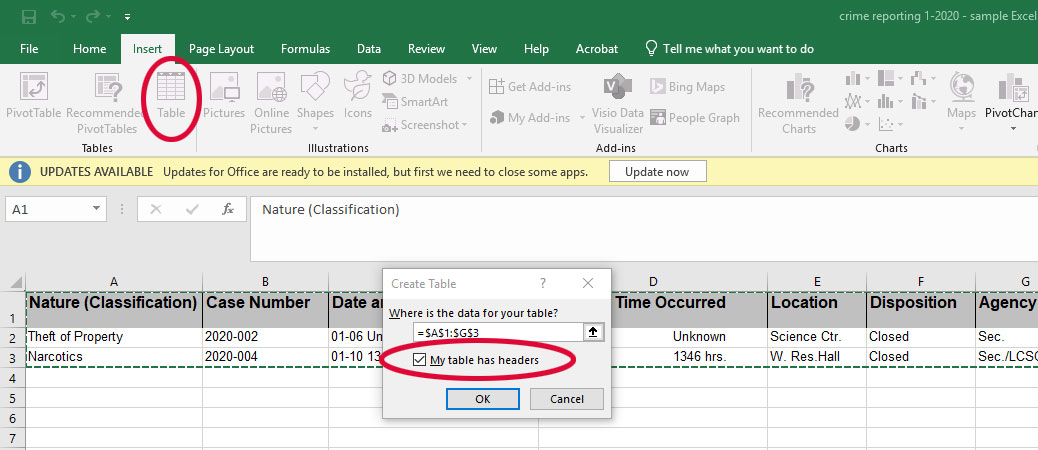
- Mark the header row: Tables also need a header row defined. To do this in Excel, click the Insert tab, and highlight your existing table (or put your cursor in a new field to create a new table) and click on the Table icon. Select the "This table has a header row" box.
- Add alternative (alt) text/descriptions for all images and charts/graphs: Describe or summarize what is in an image/chart/graph or its significance to a document. If there is any text in the image, include that text in the alt text.
You can enter alternate text by right clicking an image and selecting edit alt text.
- Use bullets/numbered lists: Screen readers can identify lists and ask users if they would like to read a list,
if they are marked correctly. Using the built-in bullets and numbered lists is the
best way to ensure lists are properly tagged for screen readers.
- Use descriptive hyperlink text: When including links in your document, use language that conveys relevant information about the destination of the link (tell users where they are going if they click on it). Screen readers can provide users with a list of links in a document. Being descriptive with link text can help them quickly find what they are looking for.
Avoid vague terms like “click here” or “learn more.” Avoid using the URL as the link.
To set up a hyperlink, highlight that text and right click and select Hyperlink. Include
the URL in the Address field and select OK.
- Remove unused sheets: We want to delete any unused sheets from our document.
- Uniquely name sheets: Ensure each sheet is clearly labeled with the information it contains (similar to
a heading). Do not give multiple sheets the same name.
- Use the accessibility checker: The Microsoft Office products have a built-in accessibility checker. It’s under the
Review tab and “Check Accessibility.” Do this before you create your final PDF, and
fix any errors found.
- Export to PDF: Use the “Export to PDF” tool under File in Excel to create your accessible PDF. Do not use “print to PDF” as this will not retain that accessible features that you have just added.